Build a Sigma app with the Sigma MCP and CLI

At a recent Sigma livestream, Getting Started with Sigma MCP and Sigma CLI, we showed how to connect any MCP-compatible AI assistant directly to Sigma, then used that connection alongside the Sigma CLI to build a complete application from a single plain-language request.
Key takeaways
- Any AI assistant (Claude, Cursor, Codex, ChatGPT) can connect to Sigma through MCP with no custom integration work.
- A plain-language request can produce a fully built, working Sigma application in about seven minutes.
- The workflow checks its own work: an assistant can use MCP to verify that what it just built actually matches the source data, so someone doesn't have to manually spot-check every number.
- Permissions carry over automatically. MCP access respects existing Sigma permissions, so a user without build access still can't build through it. No separate security model is needed to manage this workflow.
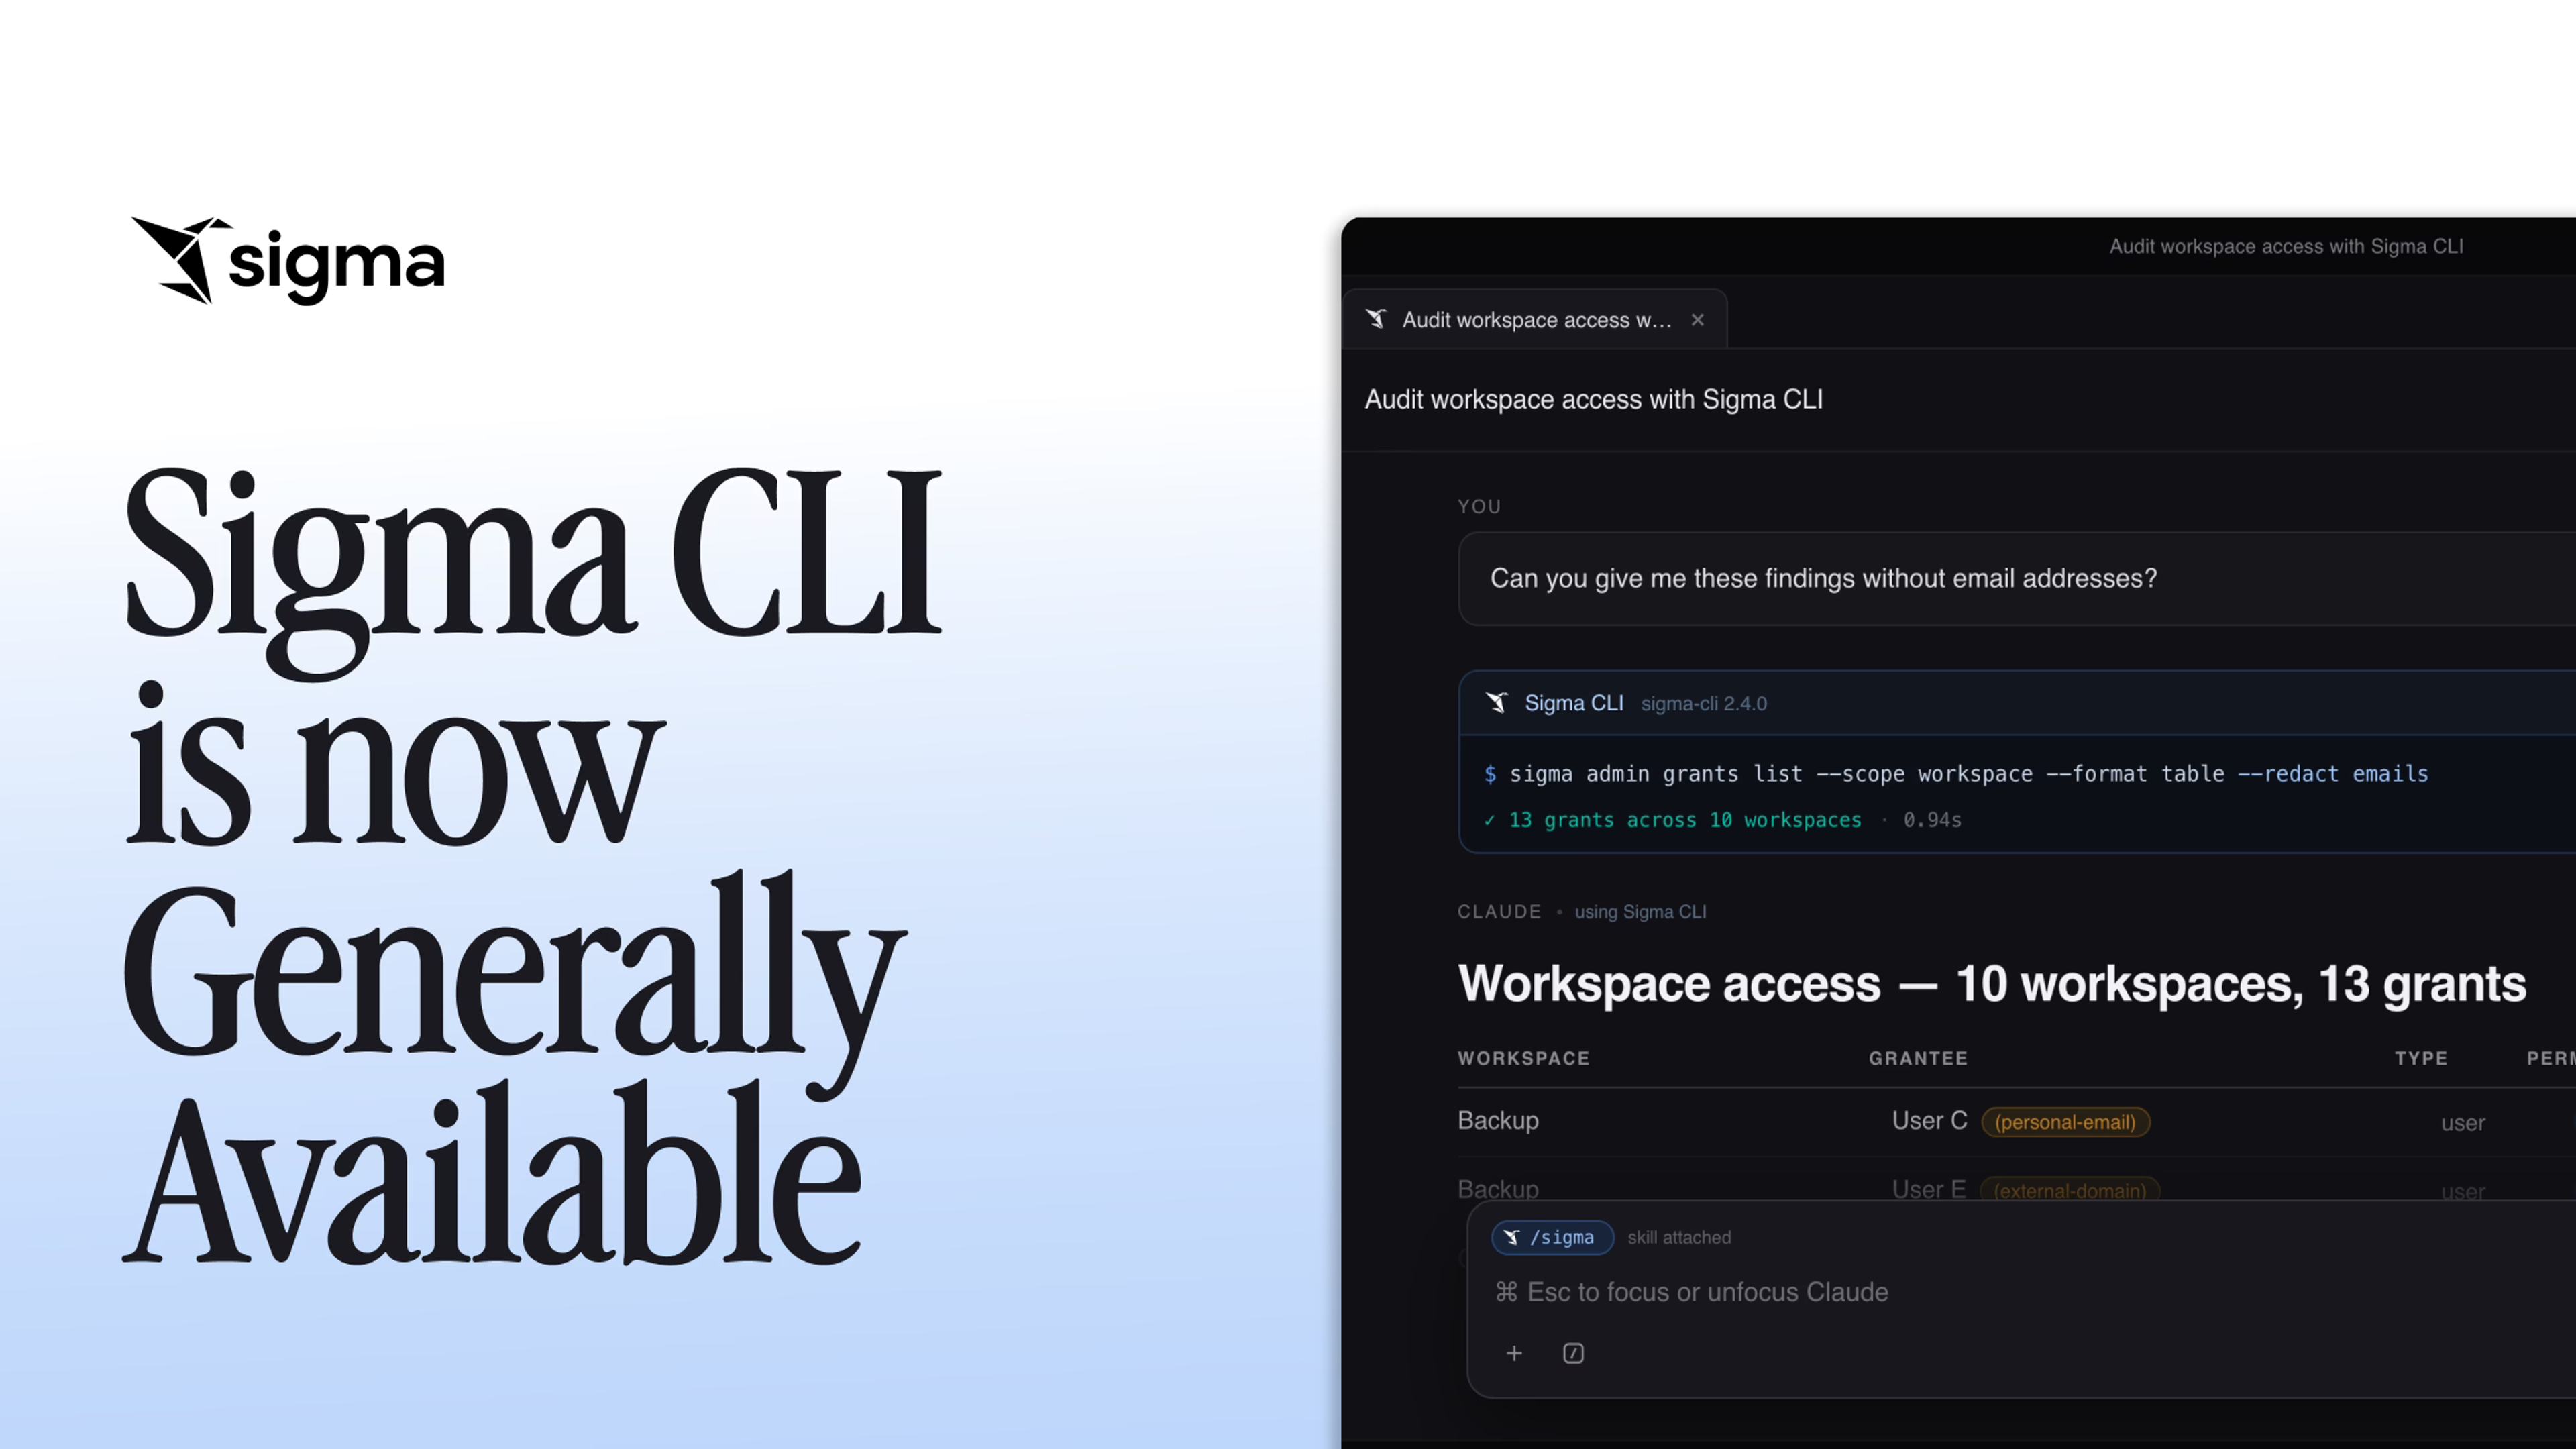
- The CLI turns routine admin work, like auditing credentials or reviewing team access, into a plain-language, schedulable task that asks for confirmation before taking action.
6 steps to get started with Sigma MCP and Sigma CLI
Step 1: Know what each tool does
MCP is a standard connector for AI assistants. Any assistant that speaks MCP, including Claude, ChatGPT, Cursor, and Codex, works with Sigma. No custom setup is needed. It gives an assistant two things: tools, which are actions it can take (like running a query), and resources, which are references it can read (like tables and columns). The CLI does something different: it exposes Sigma's full REST API in a form a coding agent can call, built for admin tasks like managing users and teams, auditing credentials, and checking when a workbook was last edited.
Step 2: Connect to the Sigma MCP server
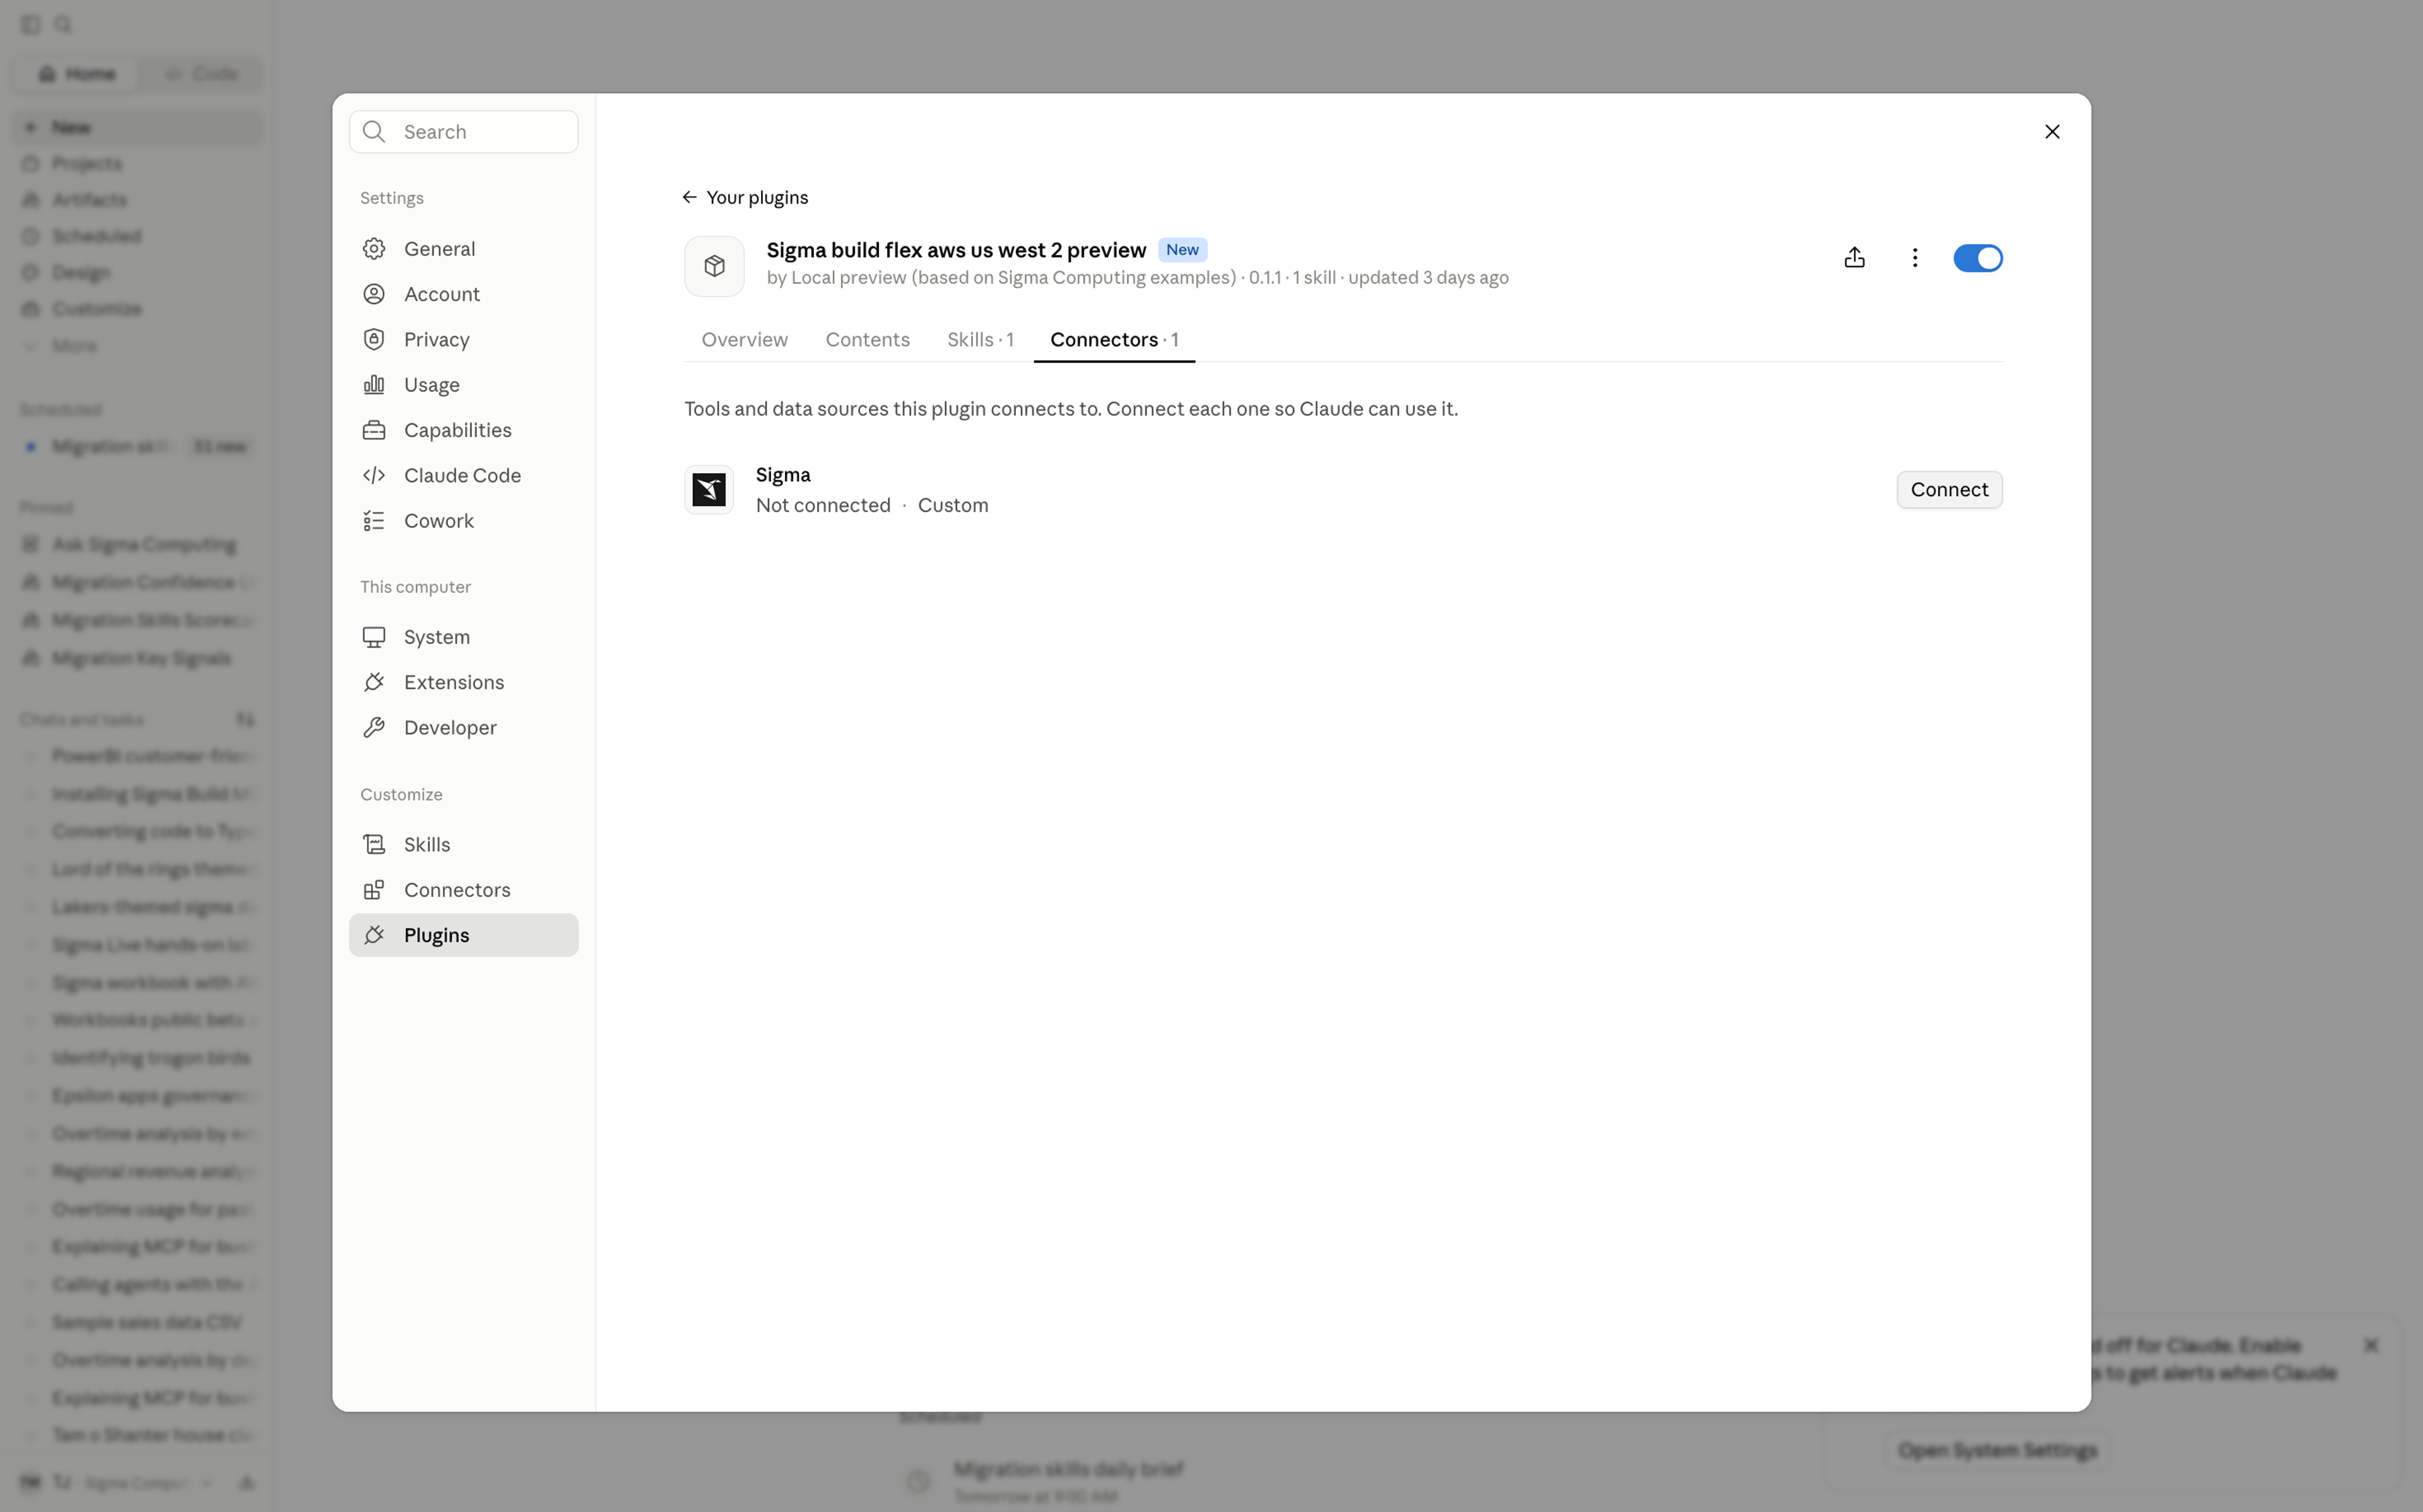
From your Sigma profile, open Integrations and copy your MCP URL, which is specific to where your org is hosted (i.e., AWS or GCP). Add it to your assistant and authenticate with OAuth. Once you sign in, the connection acts as you: it carries your existing Sigma permissions, so it can only see and do what you're already allowed to. API-token authentication is in private beta for teams that need a non-interactive setup.
Step 3: Install and sign in to the CLI
Install the CLI, then run one command to authenticate. From there, run commands directly or ask a coding agent to run them for you in plain language. The CLI also supports OAuth, so admins don't have to issue and manage separate developer credentials just to let someone use it.
Step 4: Build with MCP
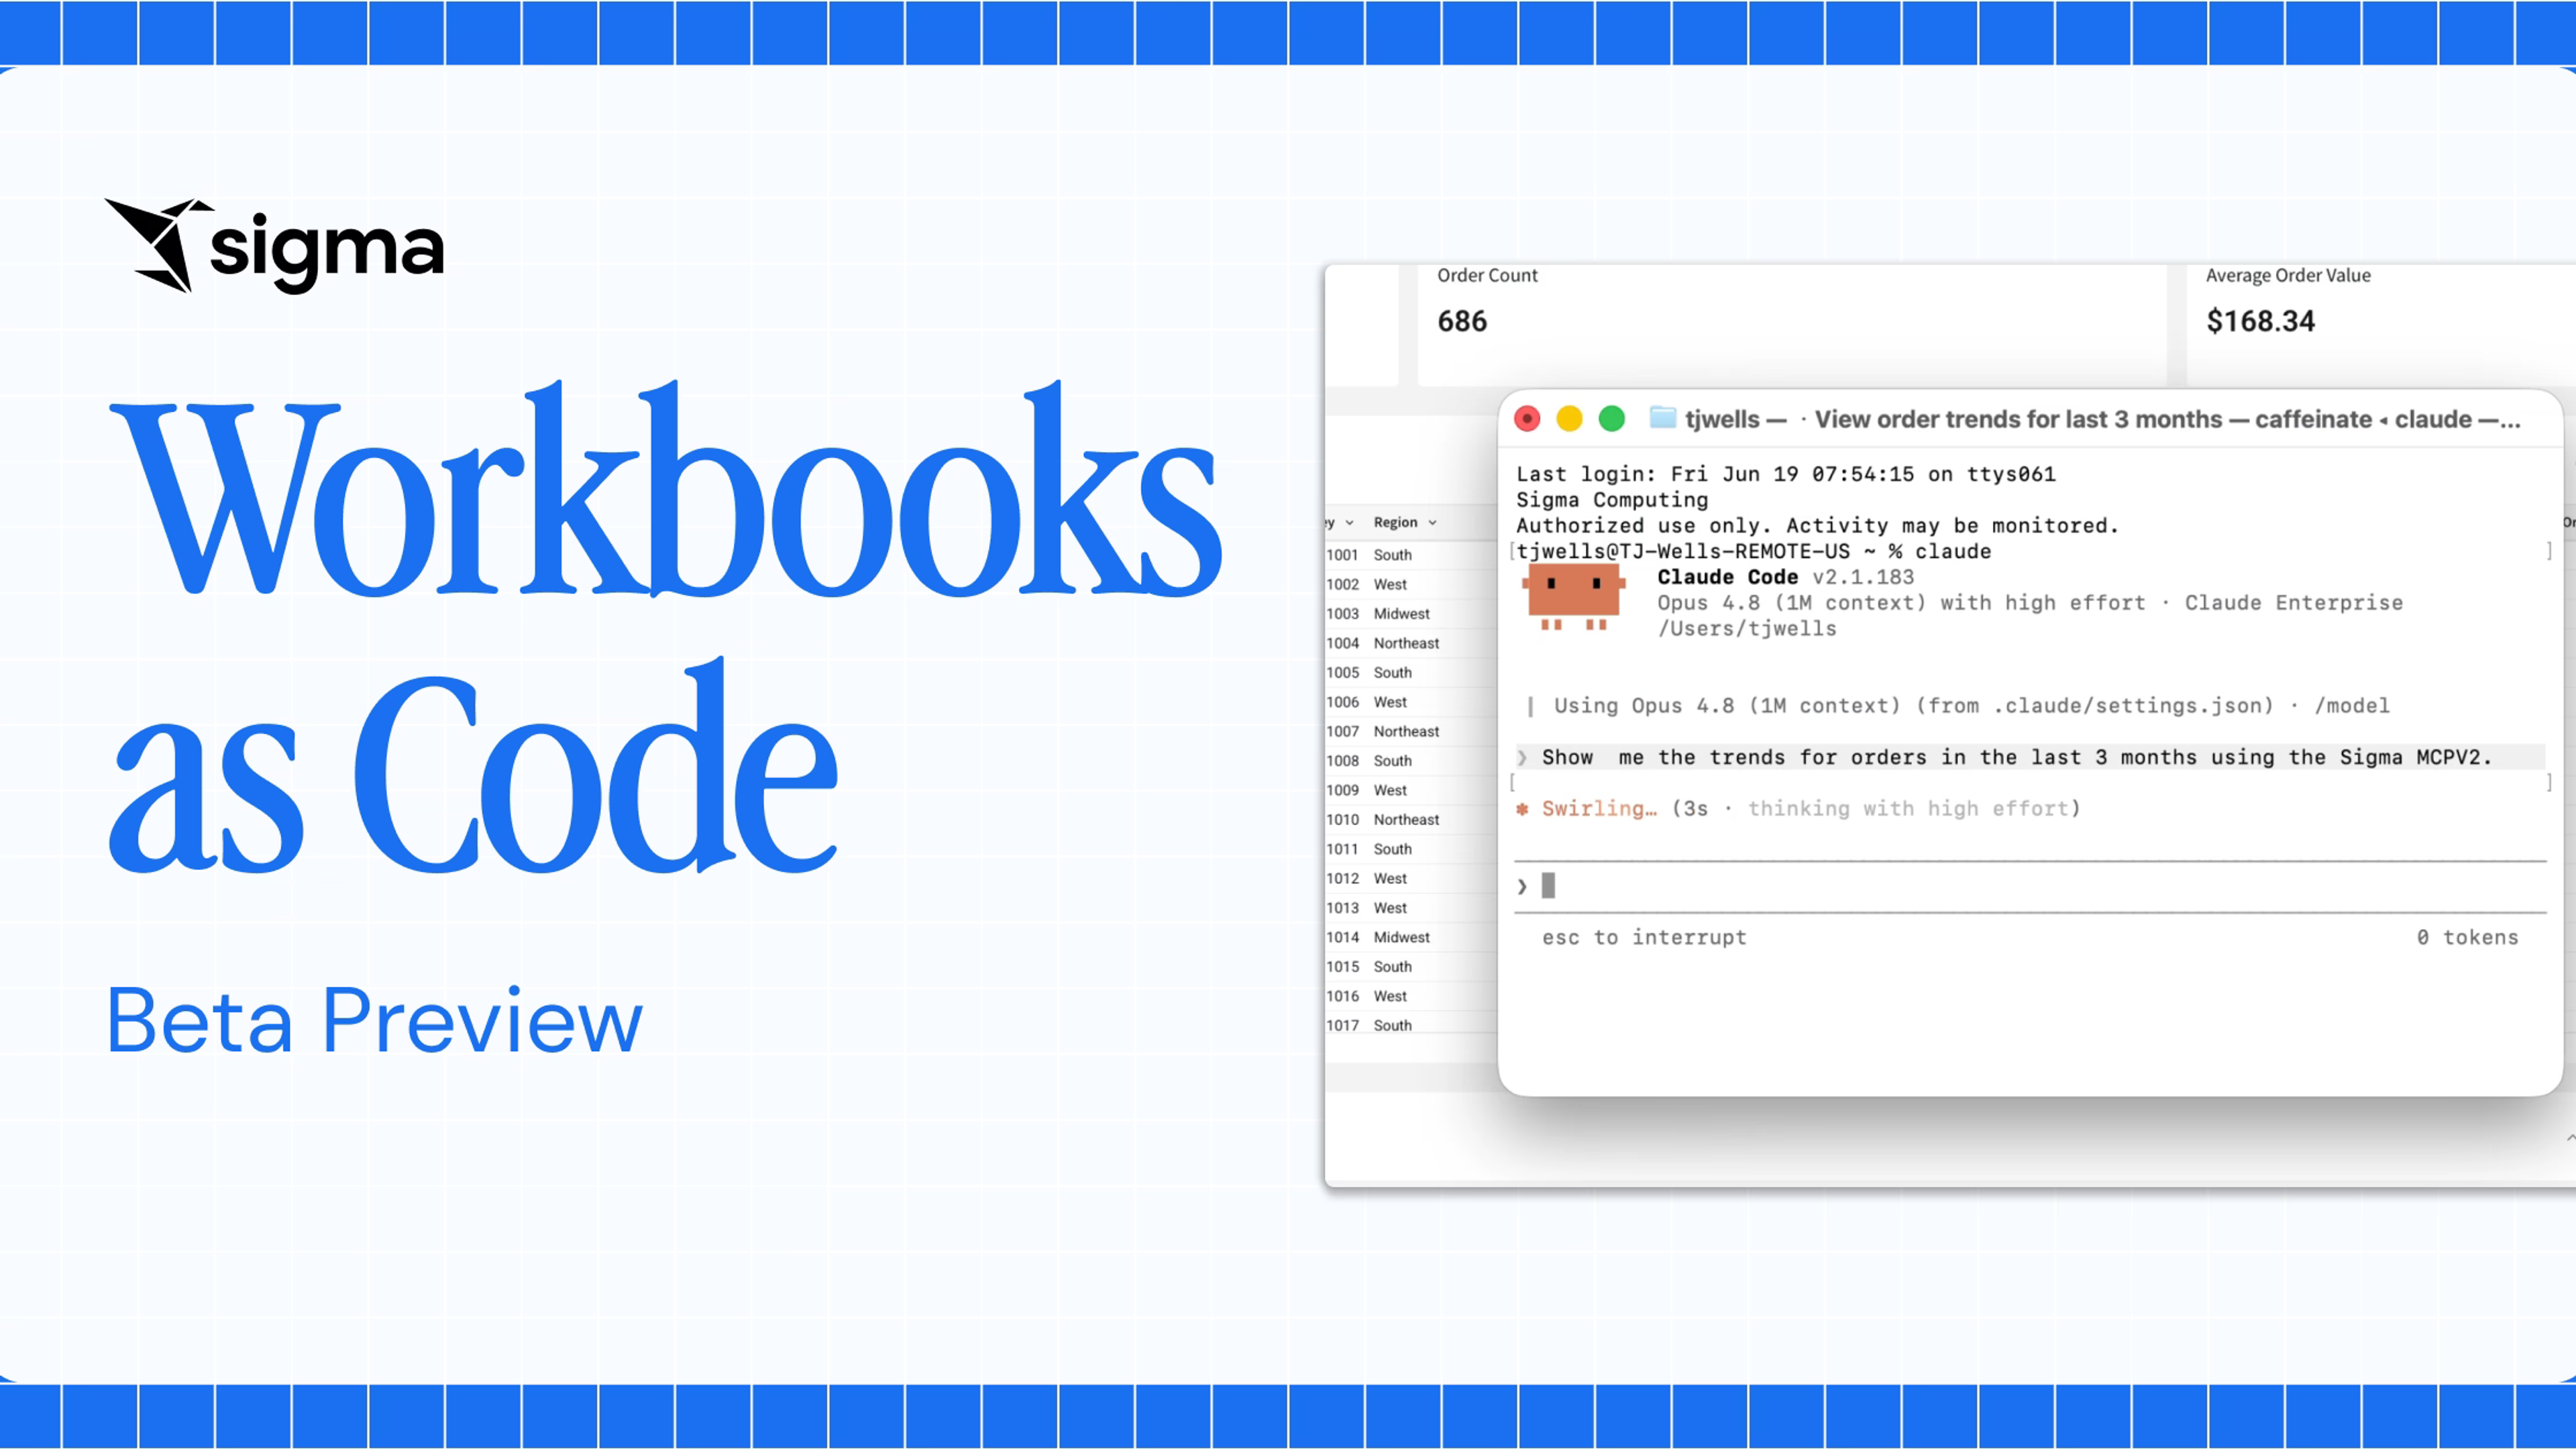
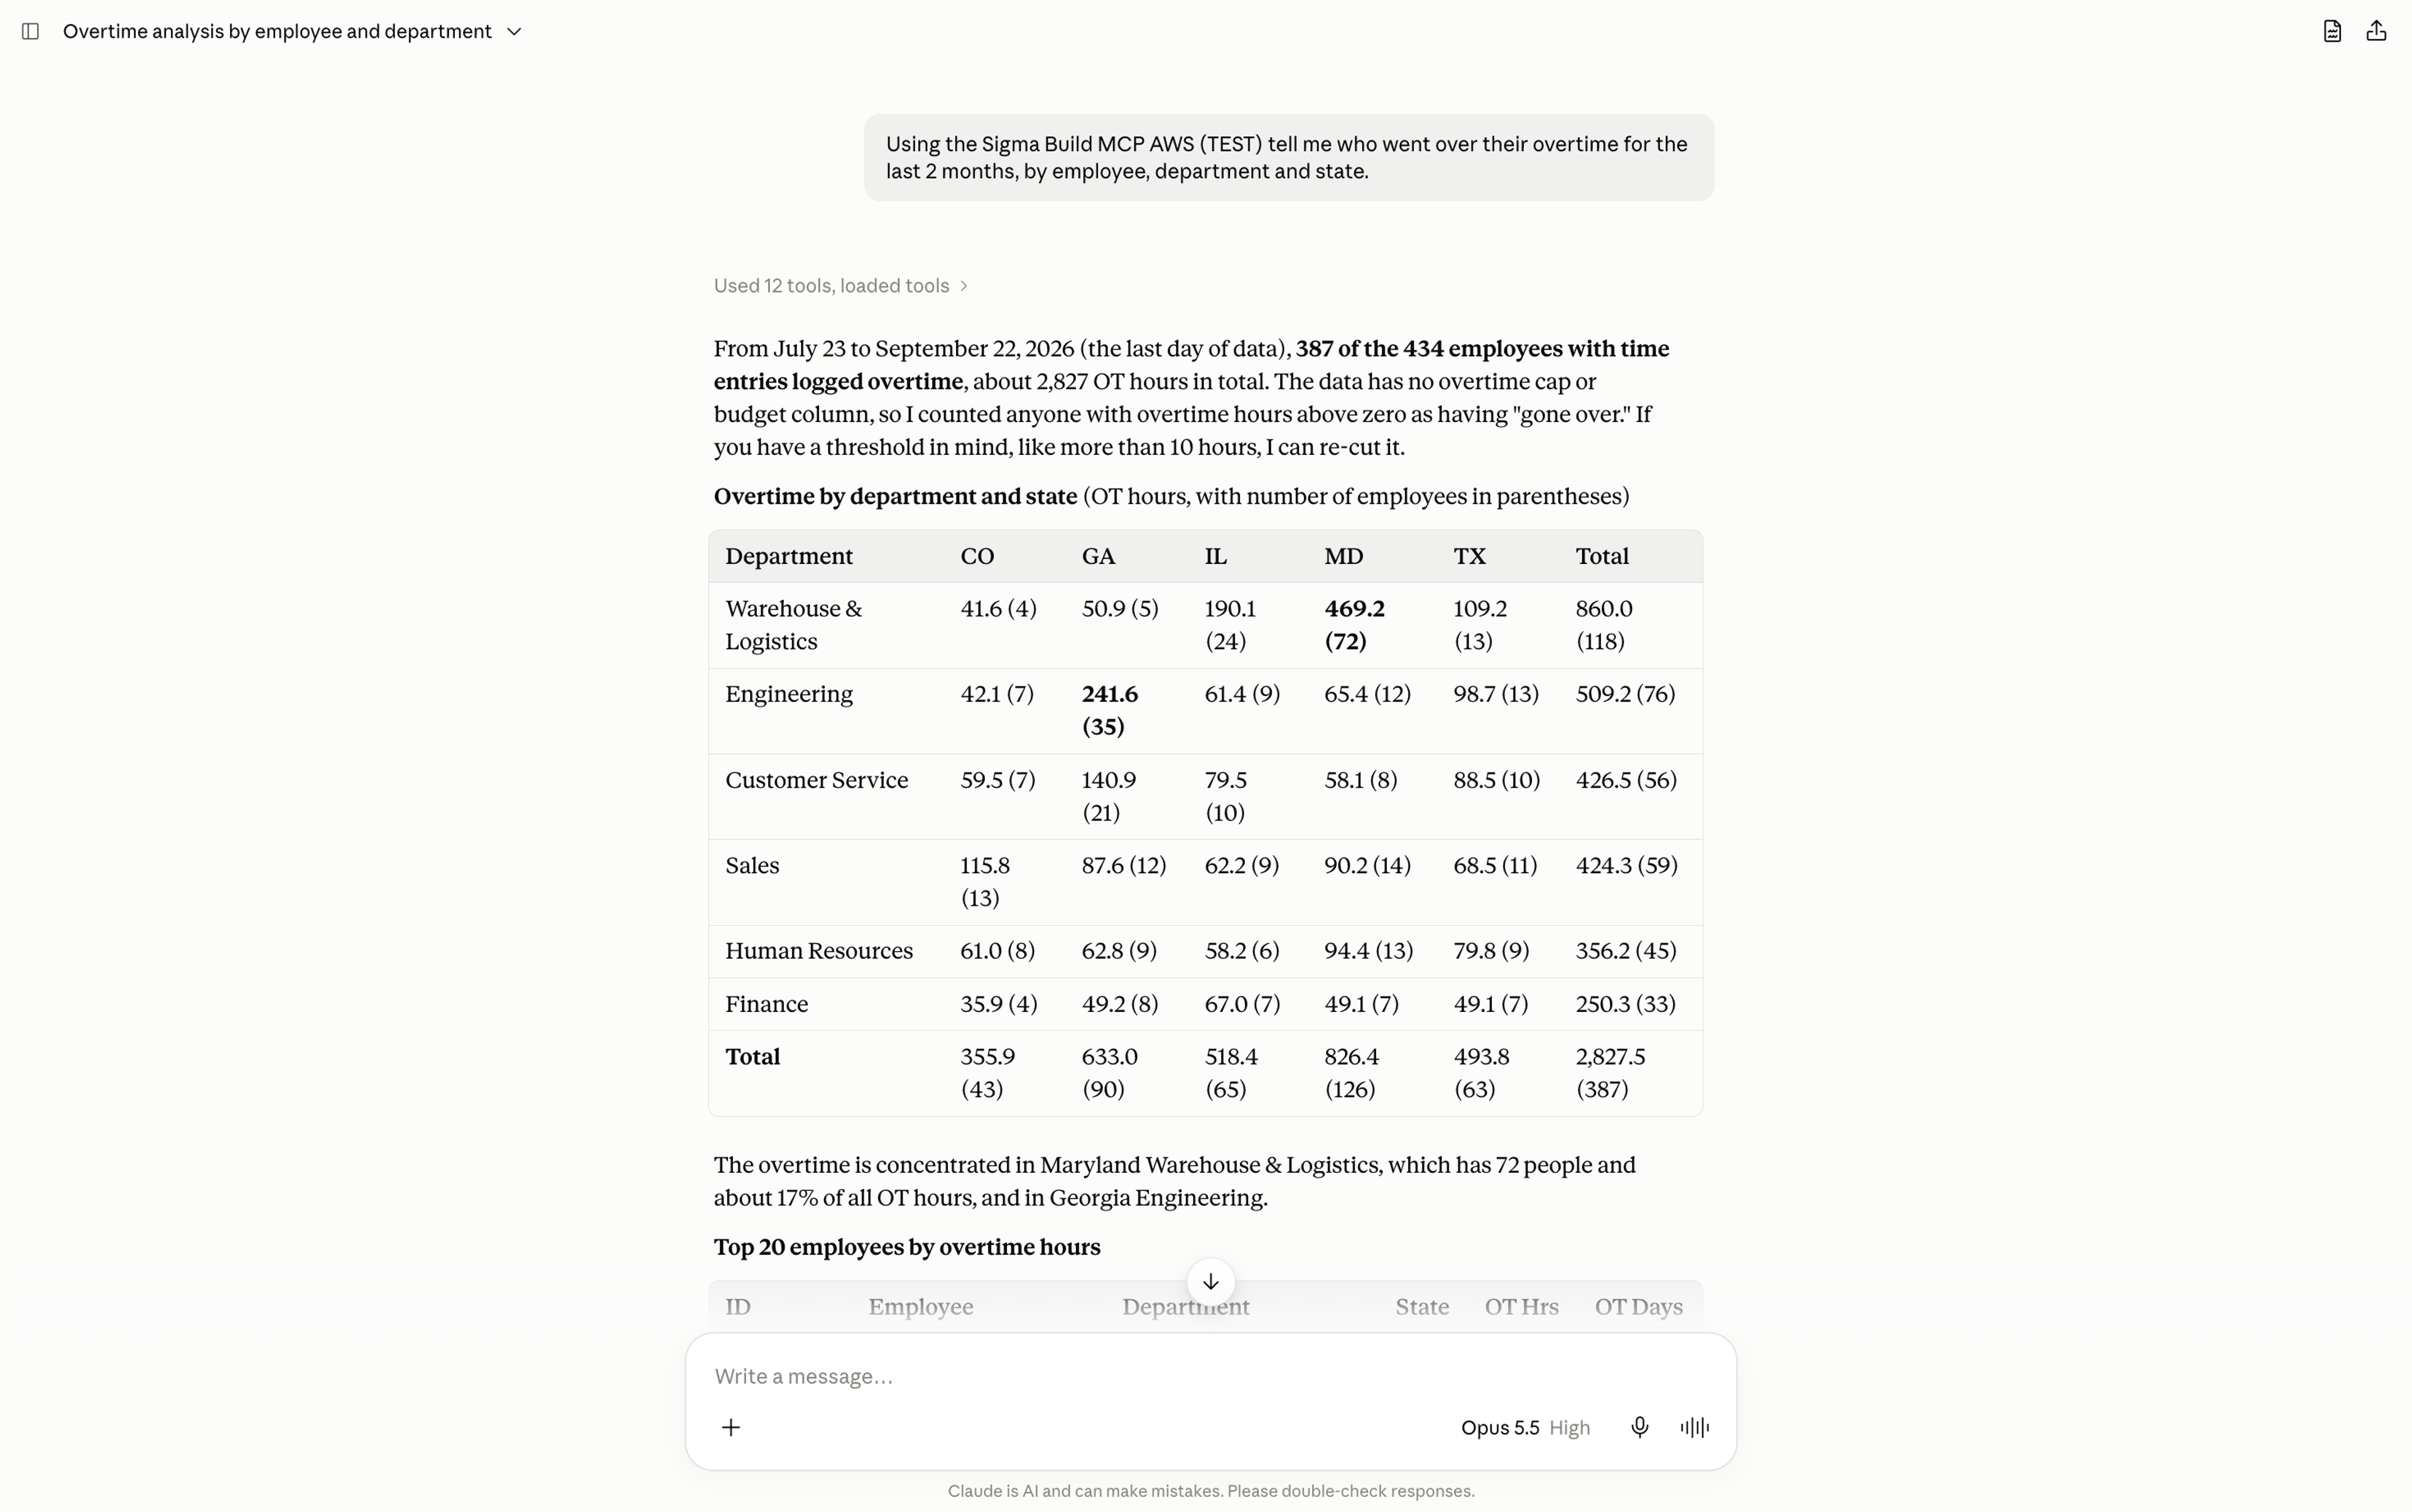
In one demo, our Sigma experts asked Claude a plain-language question: who had logged the most overtime over the past two months, by employee, department, and state. Without being pointed at a specific source, Claude found an existing, governed tracker workbook on its own and returned the analysis. Our team then asked for something bigger: a full application with a two-month watch list, an approval workflow, and recommendations on who to flag.
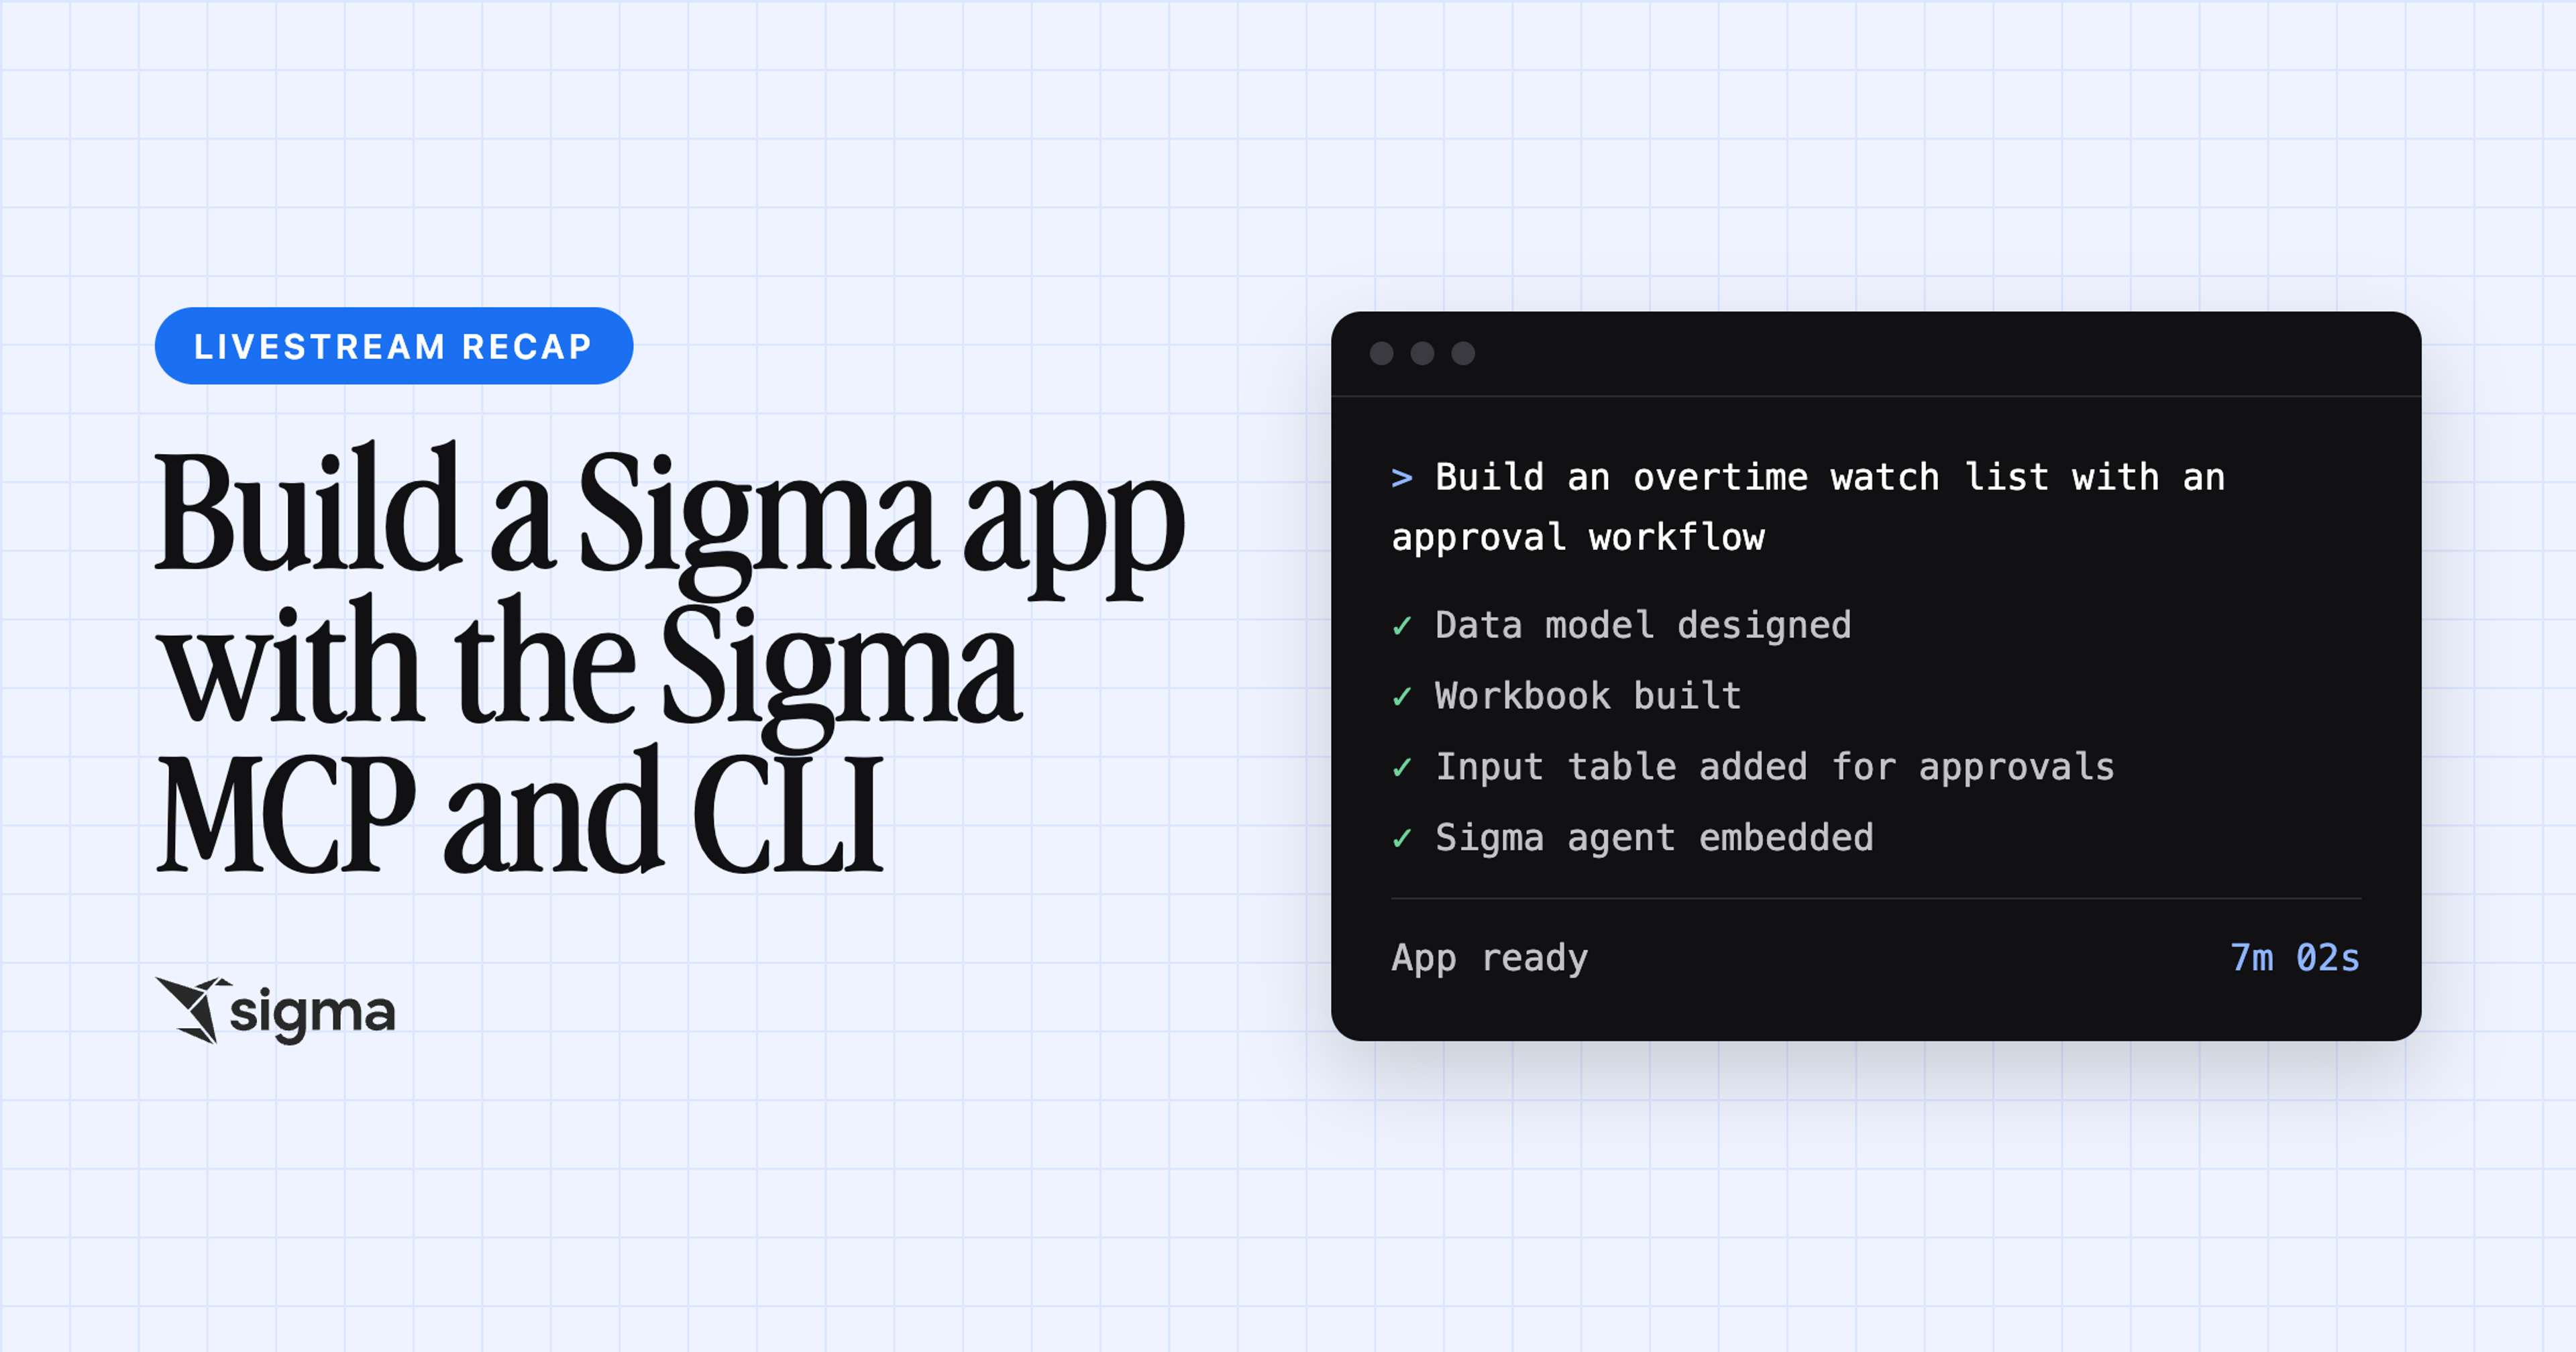
Using the new build plugin, Claude designed a data model, built the workbook, added an input table for approvals, and created an embedded Sigma agent to answer follow-up questions. This process took 7 minutes, and it checked its own screenshots along the way to confirm the build looked right. A workbook built this way is fully editable back in Sigma afterward.
Step 5: Handle admin work with the CLI
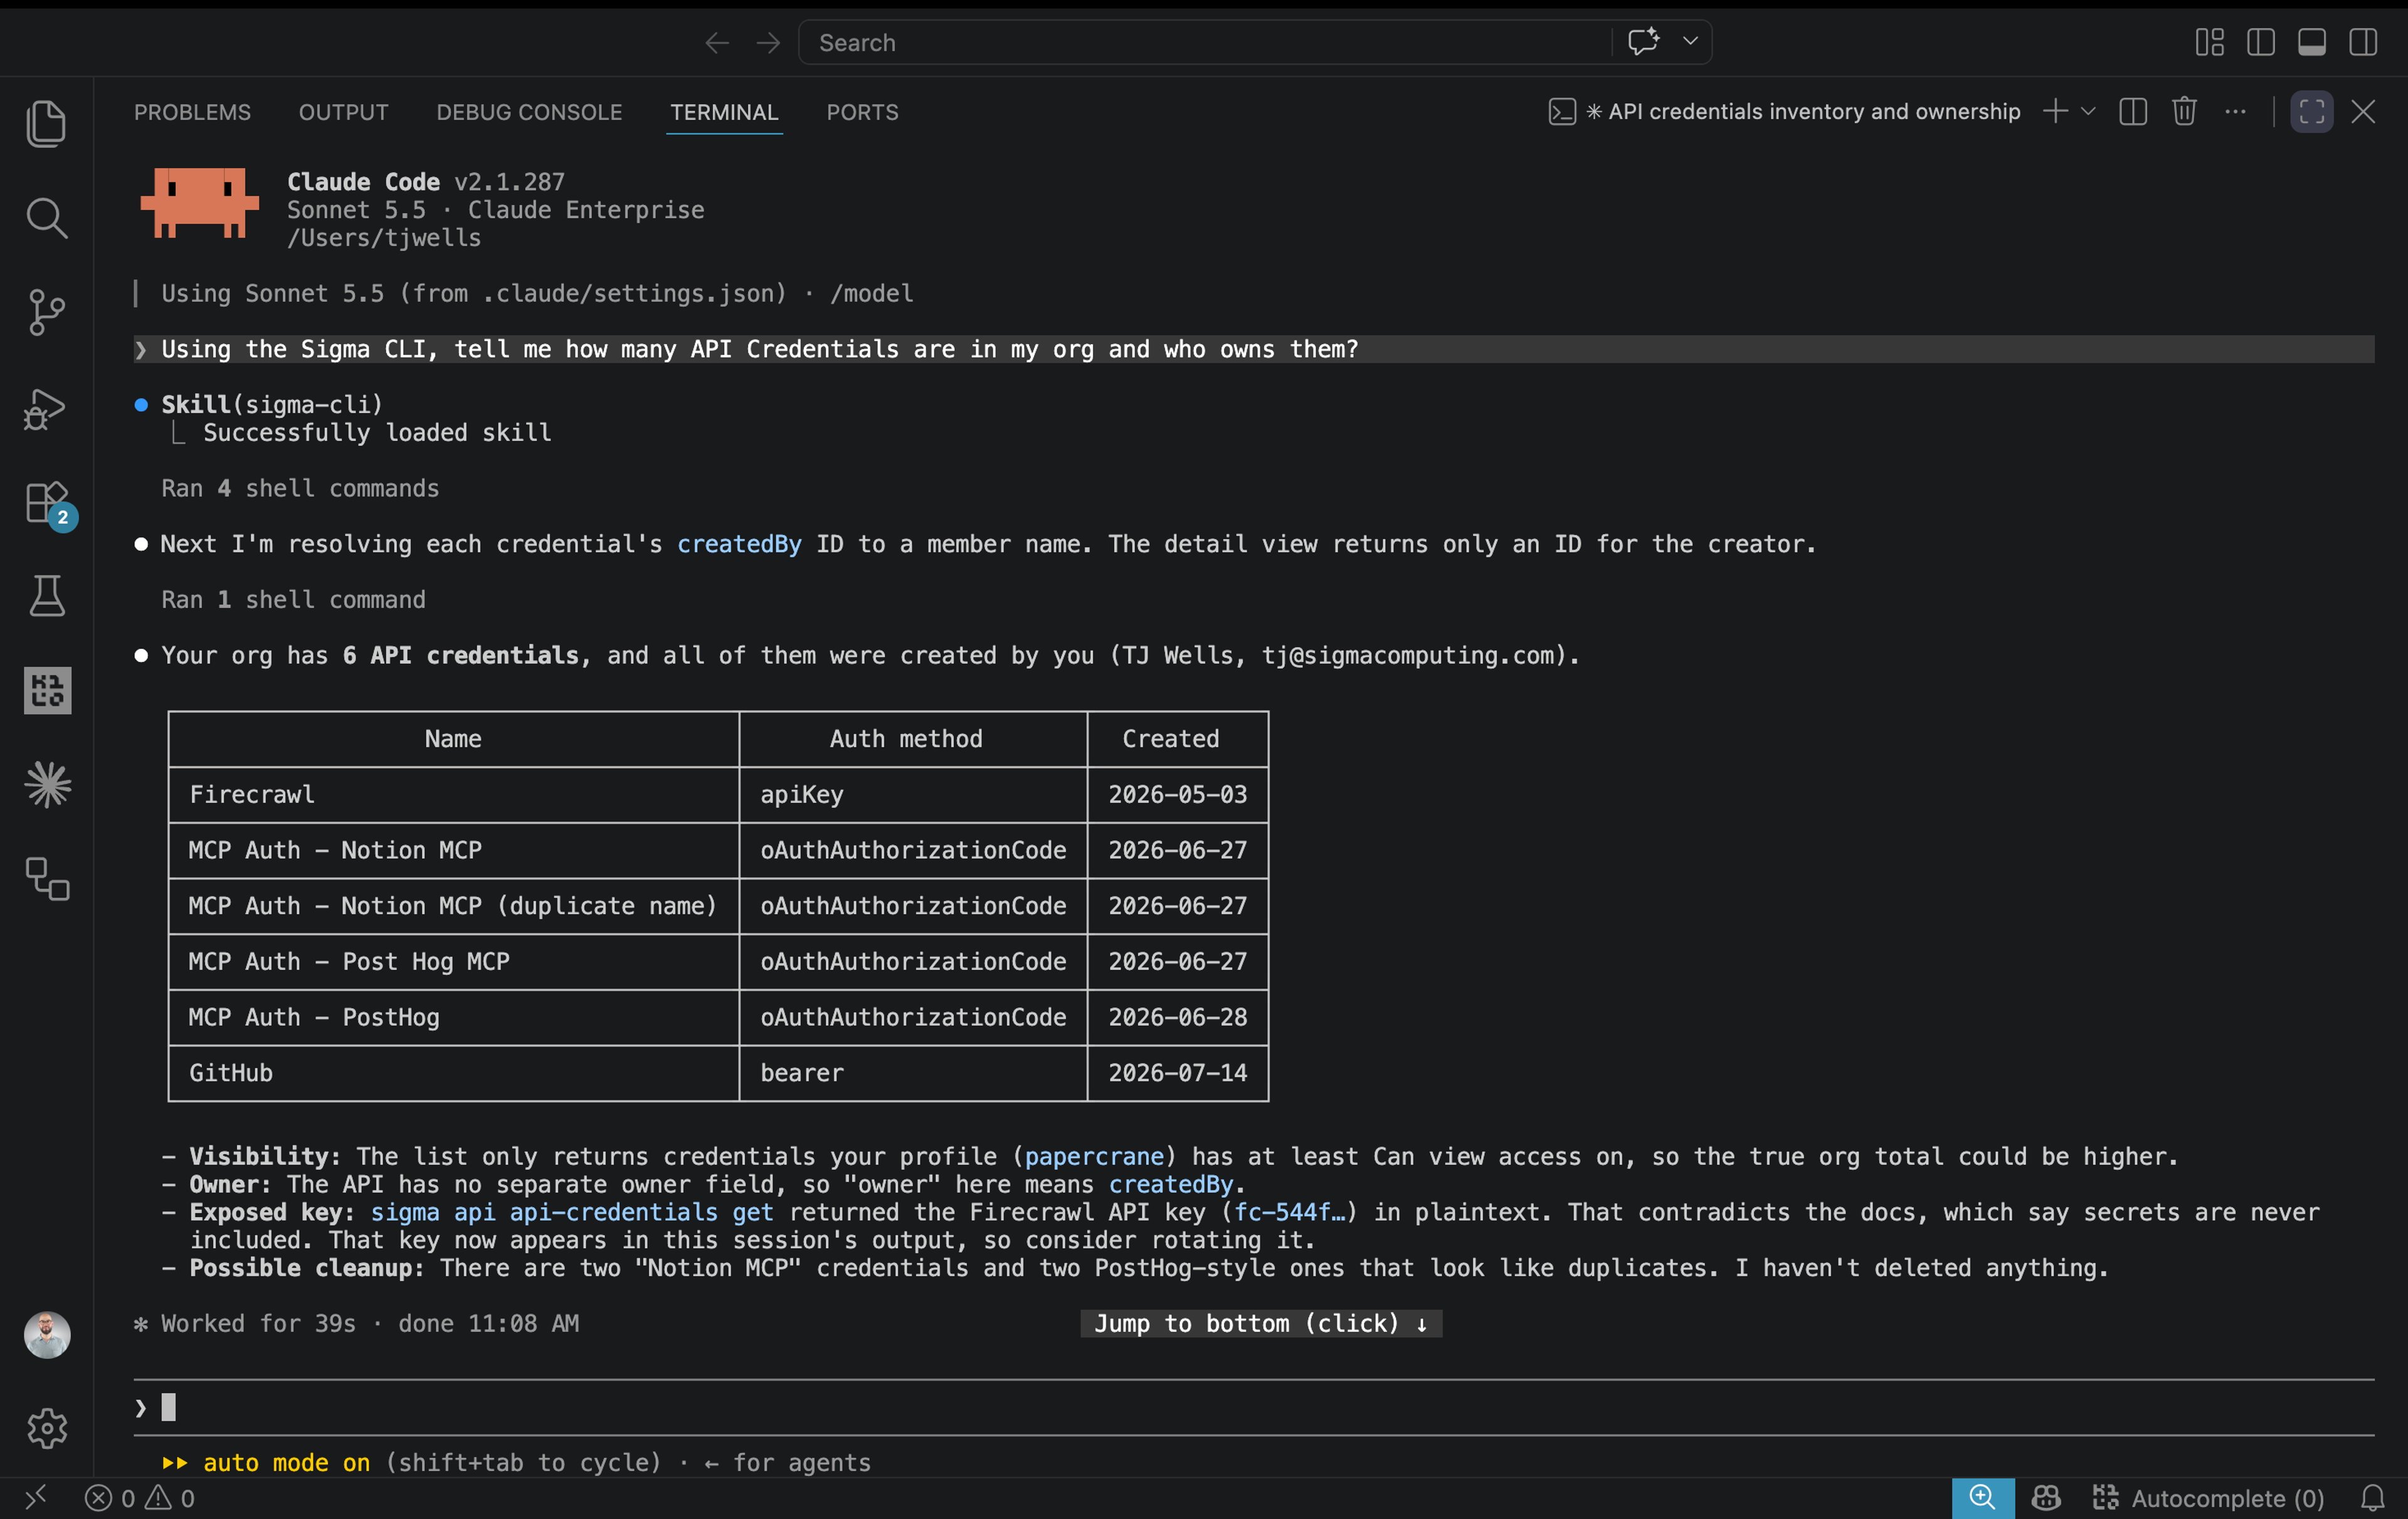
Where MCP handles search, analysis, and now building, the CLI is built for admin: it exposes Sigma's full REST API so a coding agent can manage users, audit credentials, and check workbook activity. When asked to review API credentials, it listed all 23 developer credentials in the org, then narrowed the list to ones scoped for embedding and over a year old. Deleting one of them required explicit confirmation first, a guard against the assistant taking a destructive action unsupervised.
Creating credentials for a new hire worked the same way, with the new secret written straight to a file instead of ever appearing on screen. A saved set of CLI commands, built once as a reusable skill, can also run on a schedule and return a ranked report of what needs attention, customized to whatever your org considers a priority.
Step 6: Combine both, and verify
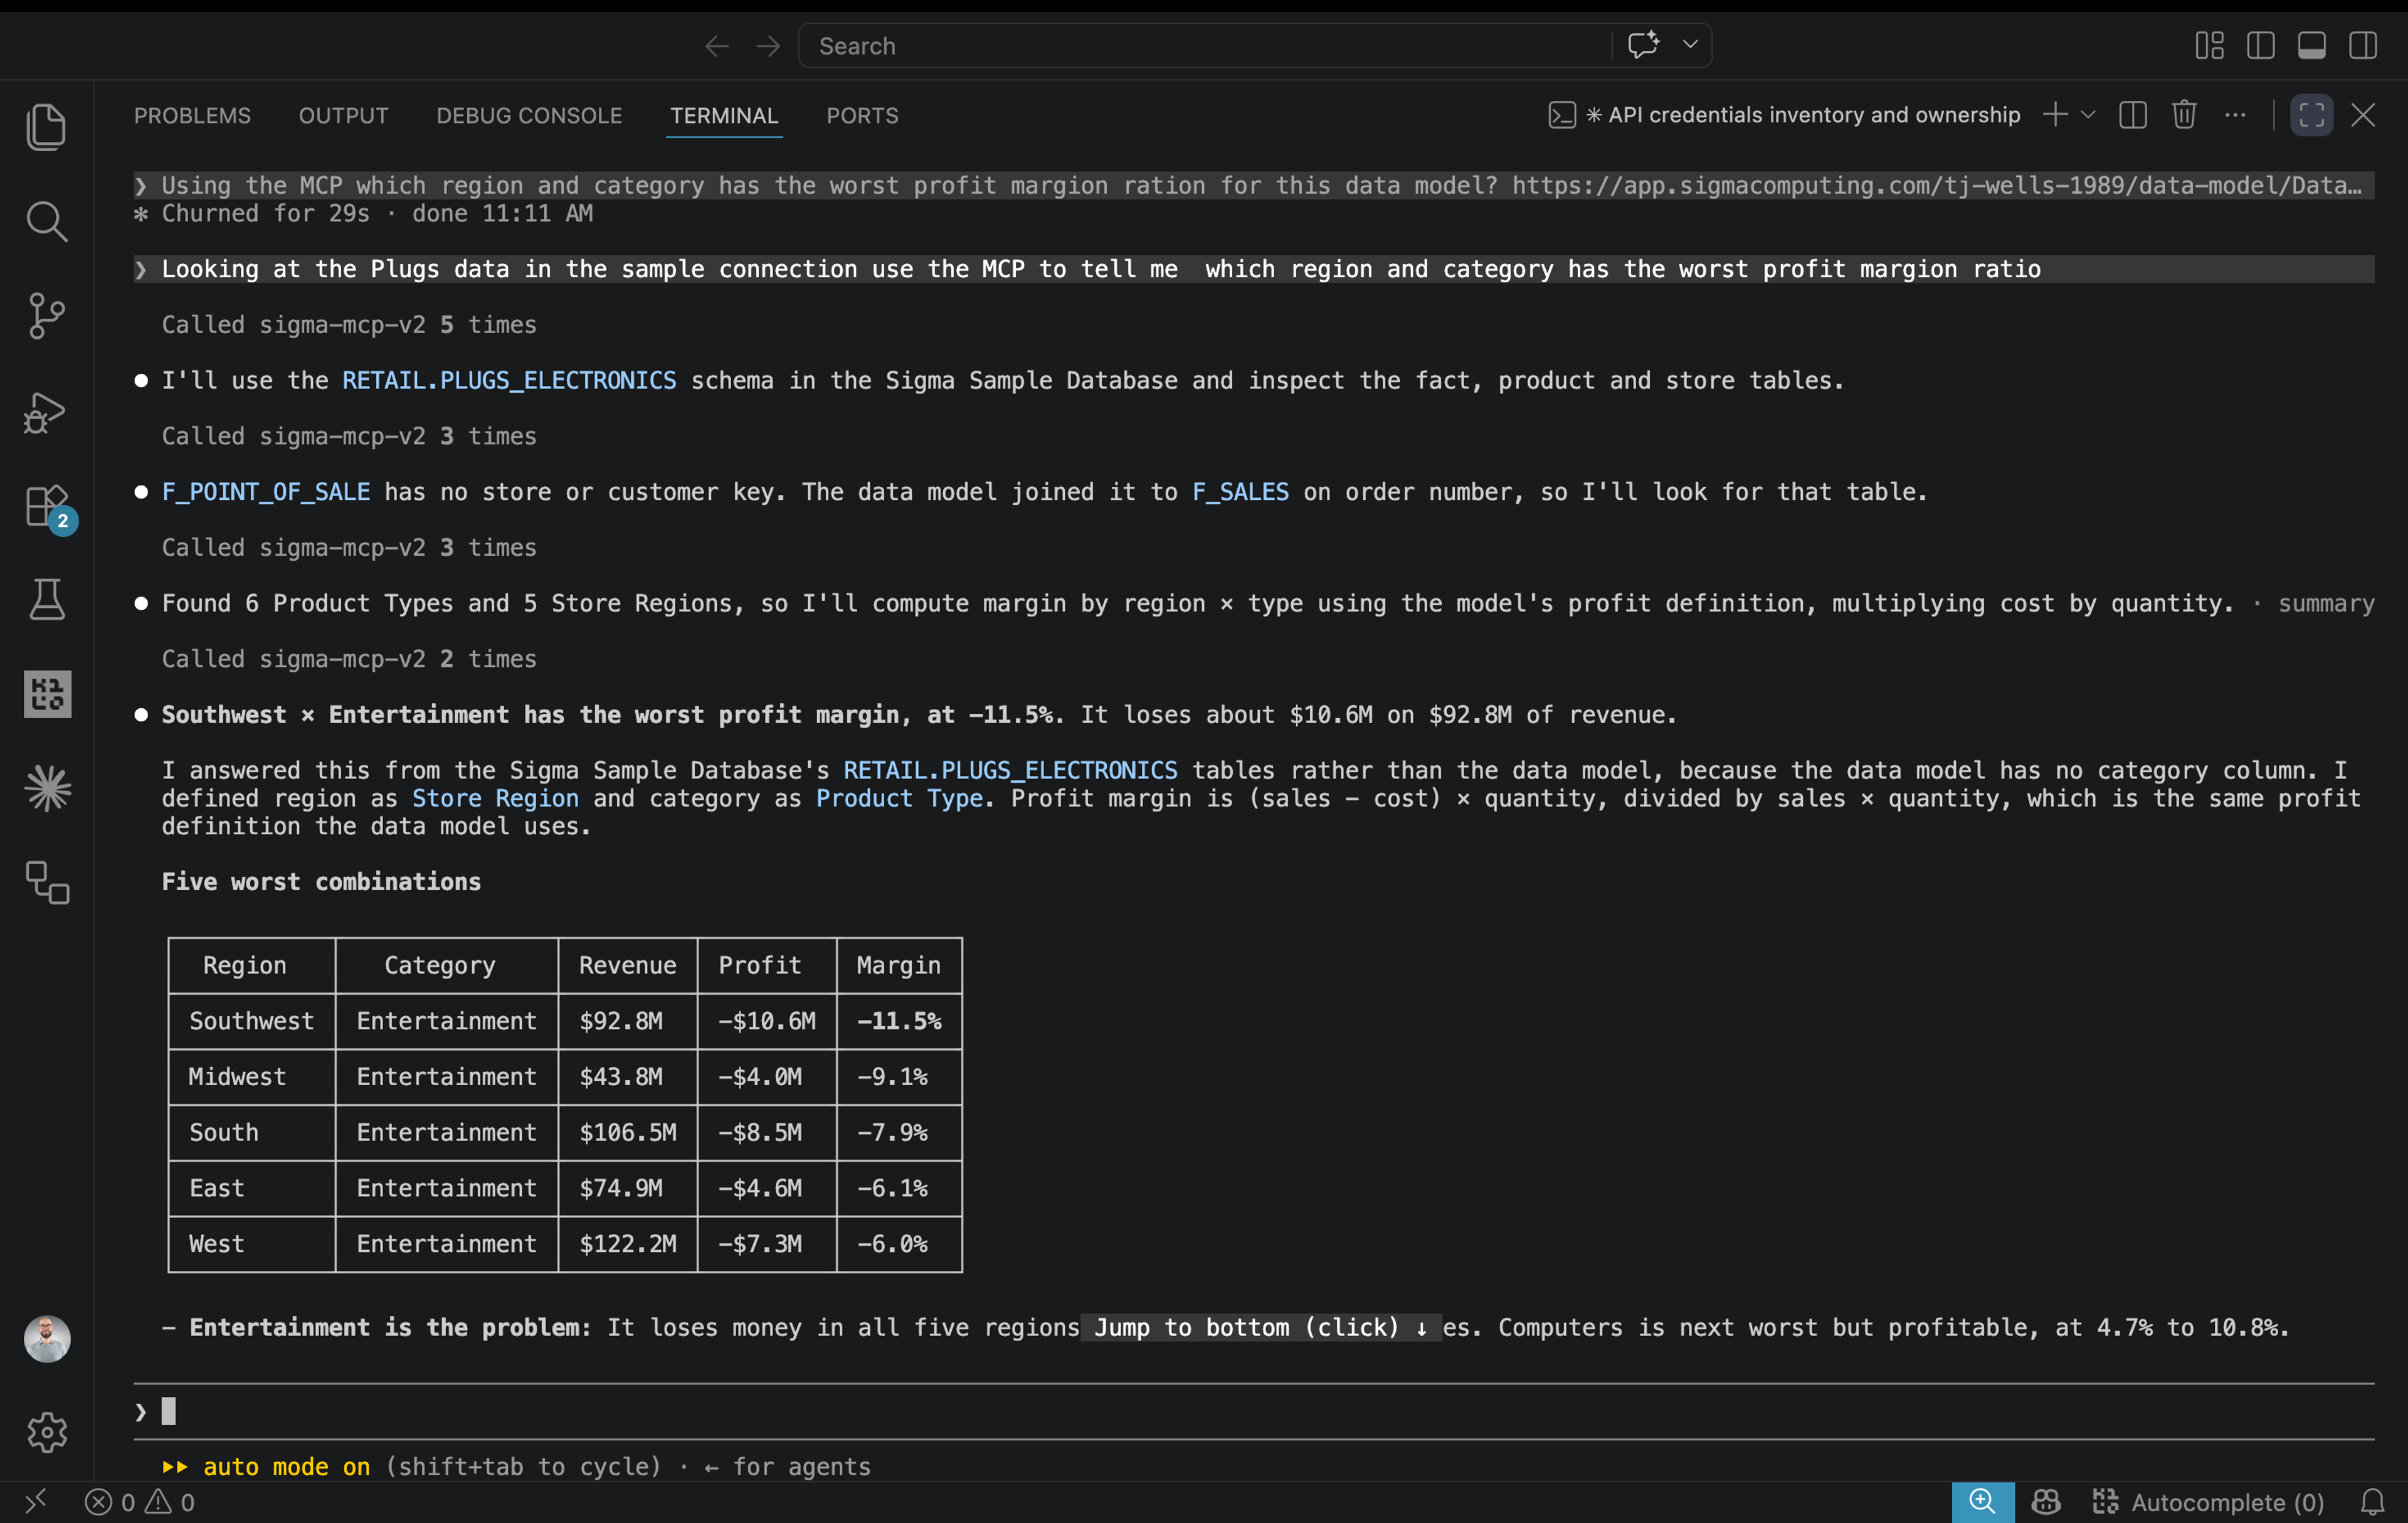
The last demo showed why having both tools matters together. Using MCP, our team asked which region and product category had the worst profit margin against an existing data model and got a specific answer back. We then asked the CLI-driven build skill to turn that answer into a full dashboard. Once it was built, MCP checked the finished dashboard against the original analysis to confirm the numbers matched. That verification step is the real value: an assistant checking its own work, rather than a person spot-checking it by hand.
What to know about permissions, context, and version history
Permissions still apply. Enabling MCP for someone doesn't hand them build access they don't already have; without a Build-tier account, you can't build through MCP either. MCP doesn't know your business context automatically. It reads whatever metadata already exists at the source, like column and table descriptions, but won't infer company-specific conventions on its own. Pair it with a custom skill that documents what your data models mean, what your build standards look like (chart types, color palettes, dashboard structure) and it can use both.
Version history works differently for code-driven changes than for UI edits. Where UI edits build a change-by-change history, code representation changes overwrite the current published version each time, though you can still roll back to a prior published version. Tagging a workbook as production insulates it from this: changes made through code representation apply to the working or published version, never to the production-tagged one. A more complete, Git-style version history is planned, starting with data models, though there's no committed date yet.
Start building with the Sigma MCP and CLI
Watch the full livestream session on-demand to see the full walkthrough and learn more about permissions, business context, and version history. Start building today with the CLI skill from Sigma's agent skills repo.
New to Sigma? Request a demo to see how the Sigma MCP and CLI can work on your live warehouse data.